
How to turn the space under your stairs into a space you can actually use
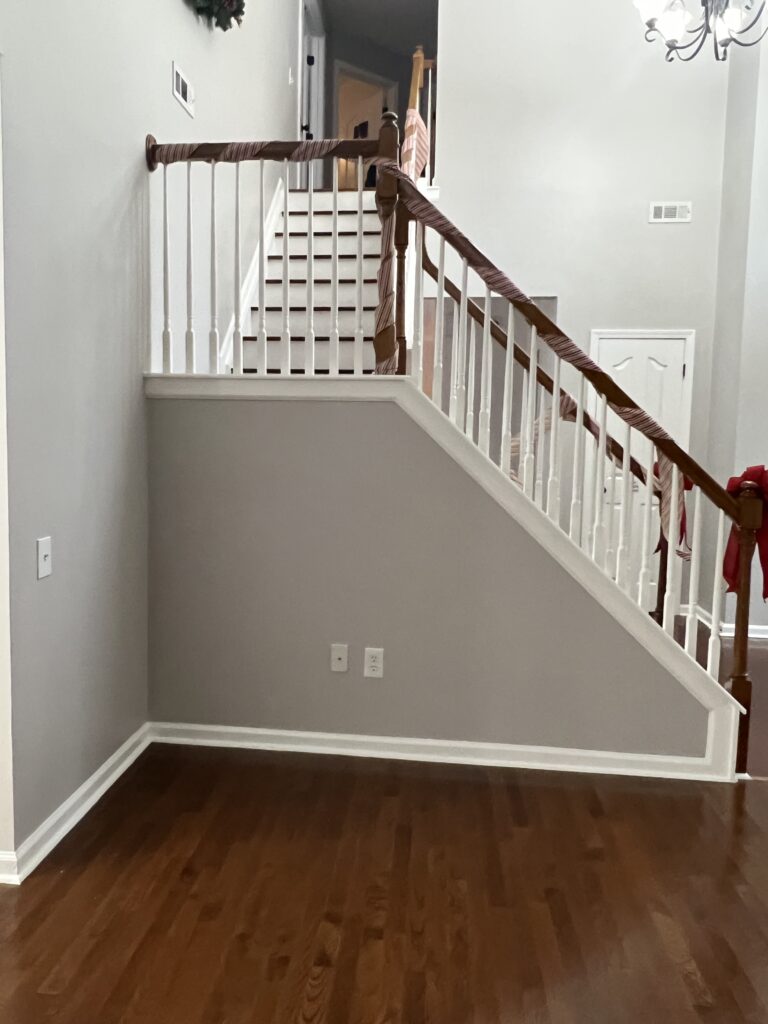
When we bought our house, there was a storage crawl space under our stairs. It was basically the big junk hole of doom that seemed to accumulate odd random items in a big unorganized pile. I don’t know about you, but organizing something where items have their own place just makes my heart happy! I would not call myself organized by any stretch of the imagination, but it’s the best feeling you can find a way to turn a pile of junk into something that actually looks neat and has purpose.
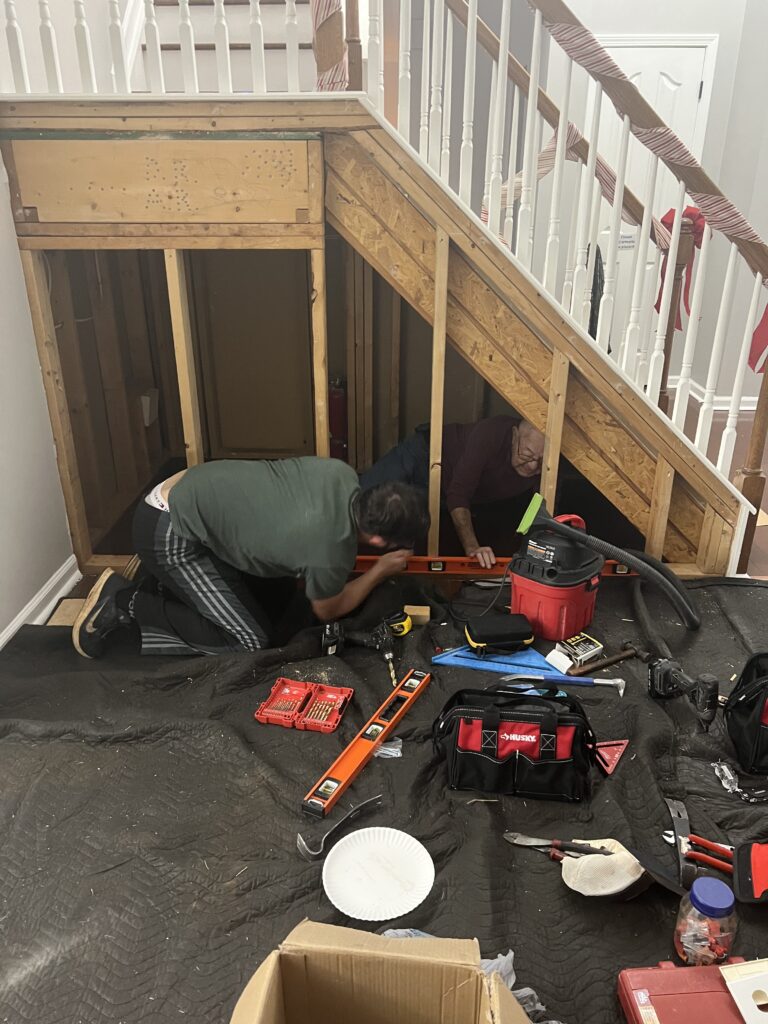
This was one of those projects where I drew a stick figure level drawing of what I had dreamed up and showed it to my husband who laughed out loud when I asked if we could get this done over the weekend. Despite the fact that my drawing was terrible, after some explanation he really liked the idea. We actually tore down the dry wall that night so we could get started on it the next morning.
Ty built every one of these drawers completely custom to match my stick drawing vision, so this project has taken several weeks to finish, but it was totally worth the wait.
How to build the storage drawers: Mansplained by Tyler
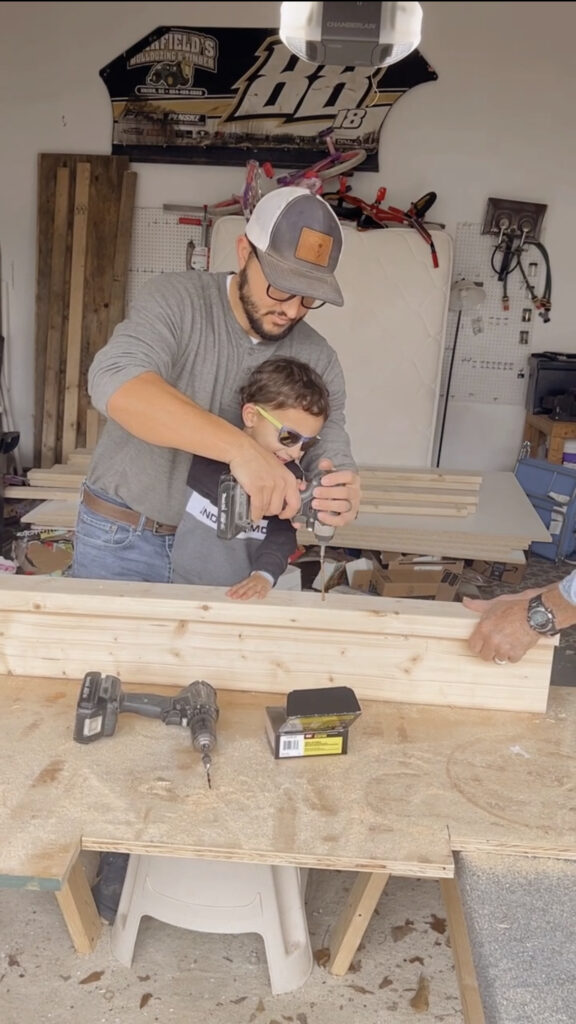
First he took rough measurements to determine the size of the drawers. Then we went to Home Depot and bought some 2×4’s, 2×6’s, and several sheets of ¾” melamine 4’x8’ white panels.
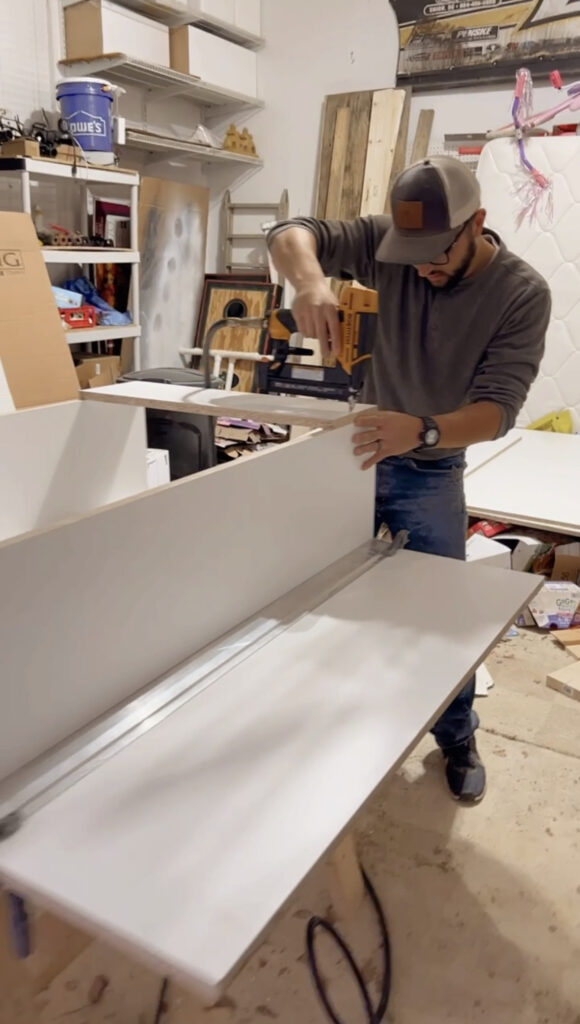
Then he built the boxes for the shelves to match what each drawer was going to look like. I was there to hand him things and moral support! To build each drawer he cut the melamine panels down to the proper size needed (ours was custom to fit our space). Then he used a combination of clamps, jigs, dowel rods, and wood glue to fasten each drawer together.
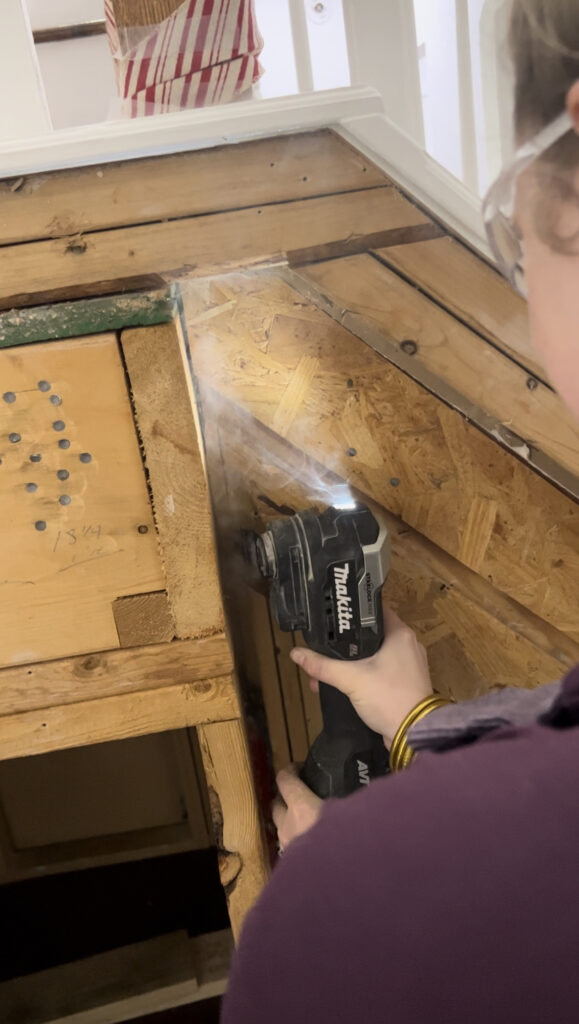
Then he used the 2×4’s and 2×6’s to create the framing under the staircase that the drawer slides would be mounted to. Make sure your tracks are level for smooth use.
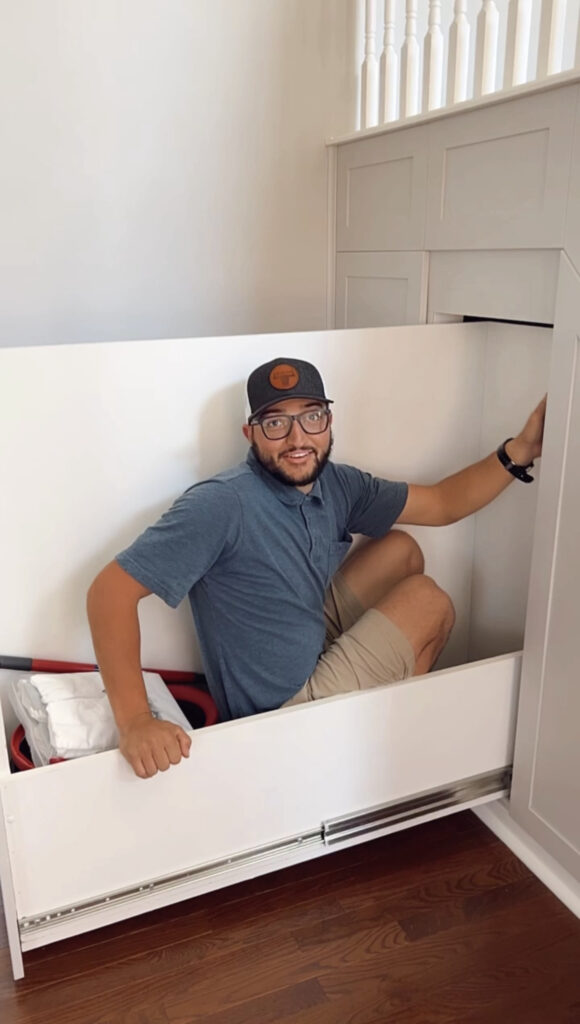
Next we installed our drawer slides. The ones for our bigger drawers have a higher weight limit than the ones for our smaller drawers to be as cost effective as possible. Definitely think about what you want to put in them before choosing the weight capacity you need. Some of the slides required slight shimming to make the glide smoother when pulling drawers in and out.
Next we bought a sheet of 5mm sanded plywood to create a finished look on the inside of the wall. We also got trim board and another sheet of the 5mm sanded plywood to build the doors for each drawer.
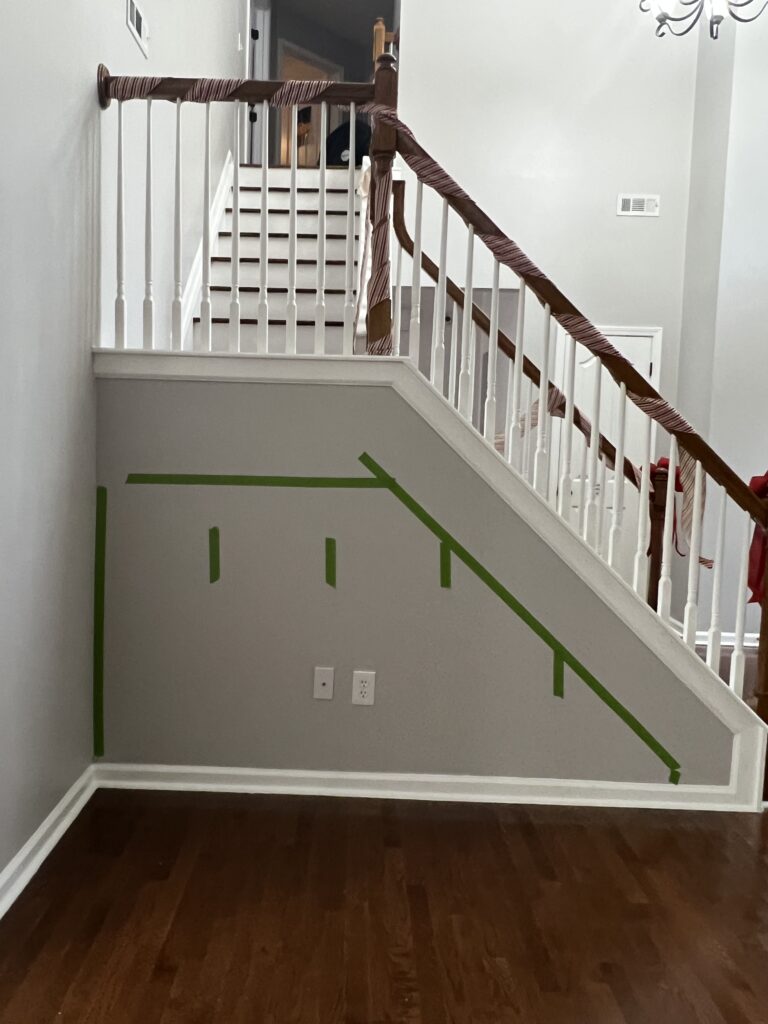
We wanted an inset panel look so Ty routed a groove in the trim board for the plywood to set into. After the trimboard was cut we used brad nails and wood glue to fasten the doors together. Now that the construction of the door fronts were complete we sanded, filled nail holes, sanded, primed, and painted the first coat of color to match our grey walls in this room. While attaching the door fronts with the brad nailer disaster struck and I accidentally hit one of the existing screws in the drawer causing the nail to turn and go directly into my finger. I strongly recommend NOT doing that!
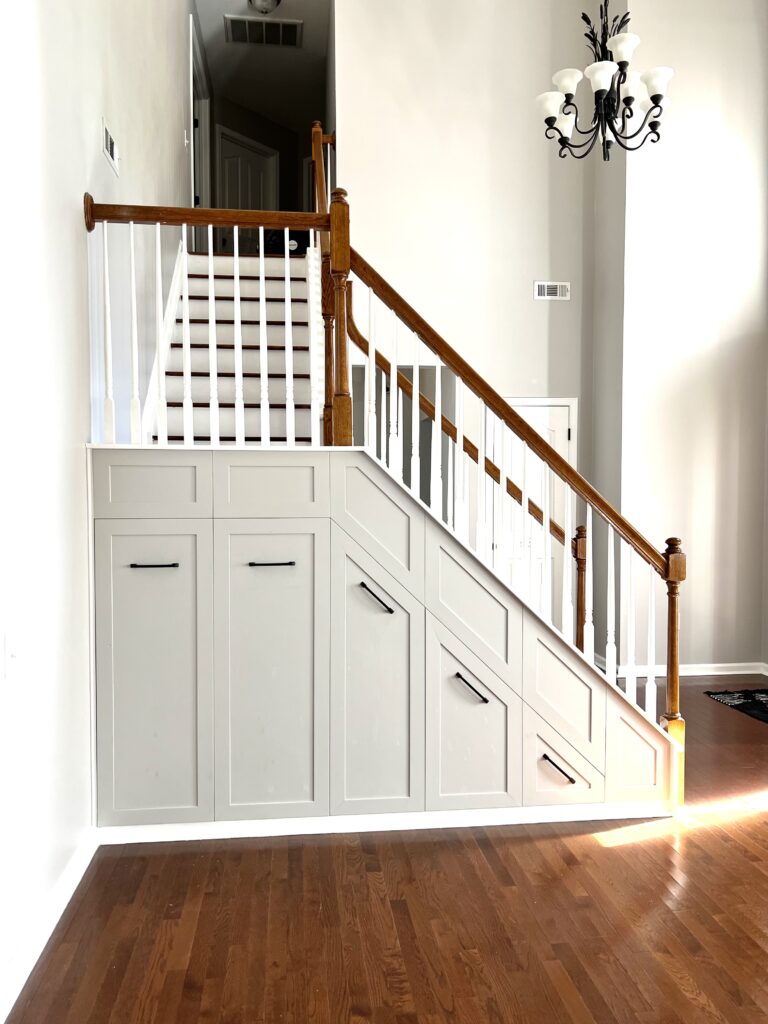
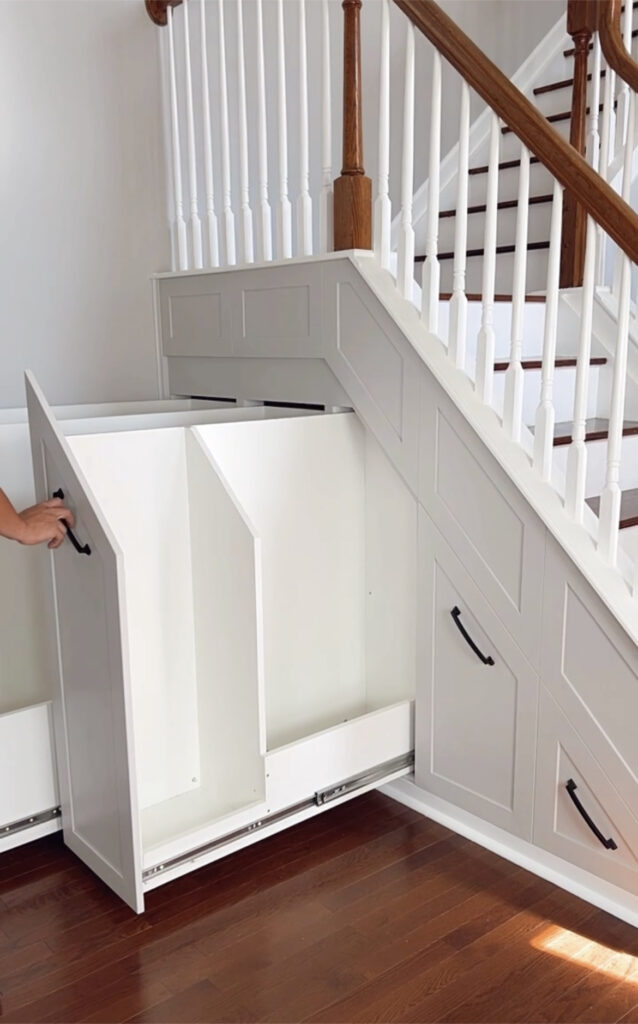
Then we finished everything out, putting on final coats of paint, put on the moldings, and installed the hardware. For hardware we chose black drawer pulls, to fit the style of our home that I call French Country.
So, after a lot of patience, magic and only one injury, we now have 5 new drawers to organize our under the stair crawl space that was previously filled with junk like crock pots, random party supplies, and old canned food that we forgot about, oops!
Is there a place in your home that you are dying to organize? We would love to see your before and after photos! It feels so good to give everything its own place. Here are our before and afters!
Visit us on instagram to see a fun video of the process here!

Be the first to comment